Busby Selector allows you to load Plugins which are custom user interfaces which can then access the bus.
¶ Environment setup
The following details how to set up your environment to develop a plugin on your local machine. This should not be run on the Busby server when developing.
To use a plugin inside of selector you will need to set up NPM to be able to authenticate and use the Squaredpaper NPM repository for access to the busby packages.
The main package required for a plugin is @busby/esb. If using React then there is also @busby/ui which has stylings and elements which can be used from our toolkit. We have also made some templates to get you started and is our recommended and prefered way of using the plugin architecture. Although the esb module is framework agnostic and could be used in any UI framework you wish to use.
To connect to our repository run this command. Please contact us to obtain the user name and password. For the email address enter your email address. This will login and set the @busby scope to be available from our registry.
npm login --global --scope busby --registry https://npm.squaredpaper.co.uk/
¶ Creating the Plugin
¶ Build the template
Once the environment has been set up to create a plugin using a template, run:
npm create @busby@latest <app-name>
Replace <app-name> with the name for the application, or omit this entirely and it will prompt you for the name. This will be the name of the folder that gets created.
It will prompt you for which plugin you are creating and a couple of other questions. Once done it will show you some additional commands to run at the end.
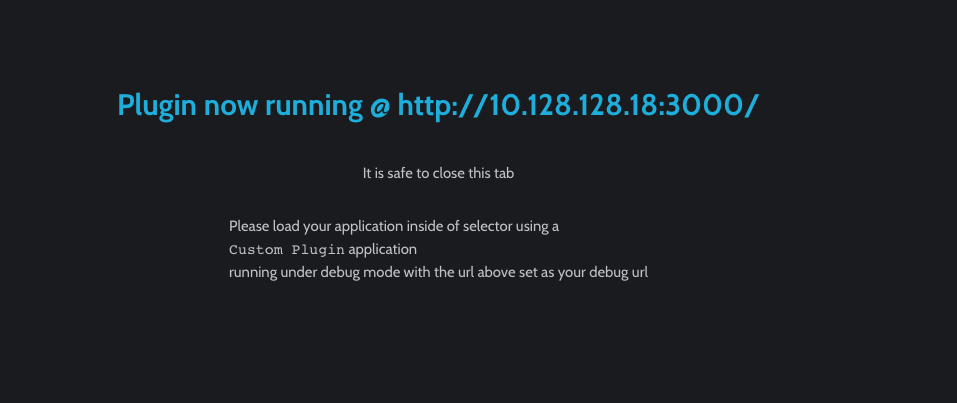
When you run the start command it will open a browser and display the following content
¶ Configure Selector
Now that your plugin is running you can configure Selector to display the plugin.
For all plugins they will have a Folder Name and Development/Debug URL field. The Folder name will be the name of the folder that the plugin will be uploaded to once it has finished being developed. The debug url is the url that the plugin is listening at. For the default plugin that is provided by the template the default path will work but if using a different framework and server you may need to change this to match.
¶ Task Plugin
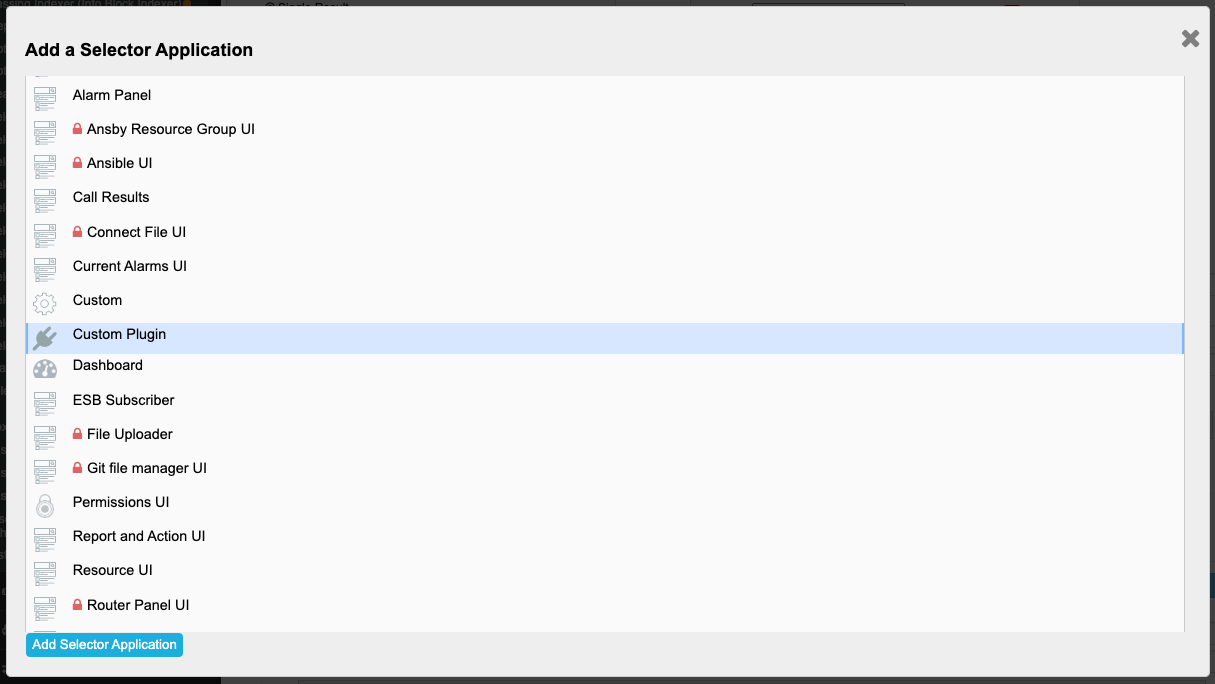
In the config add a new selector appliction of type Custom Plugin
Once added configure the application as to your needs.
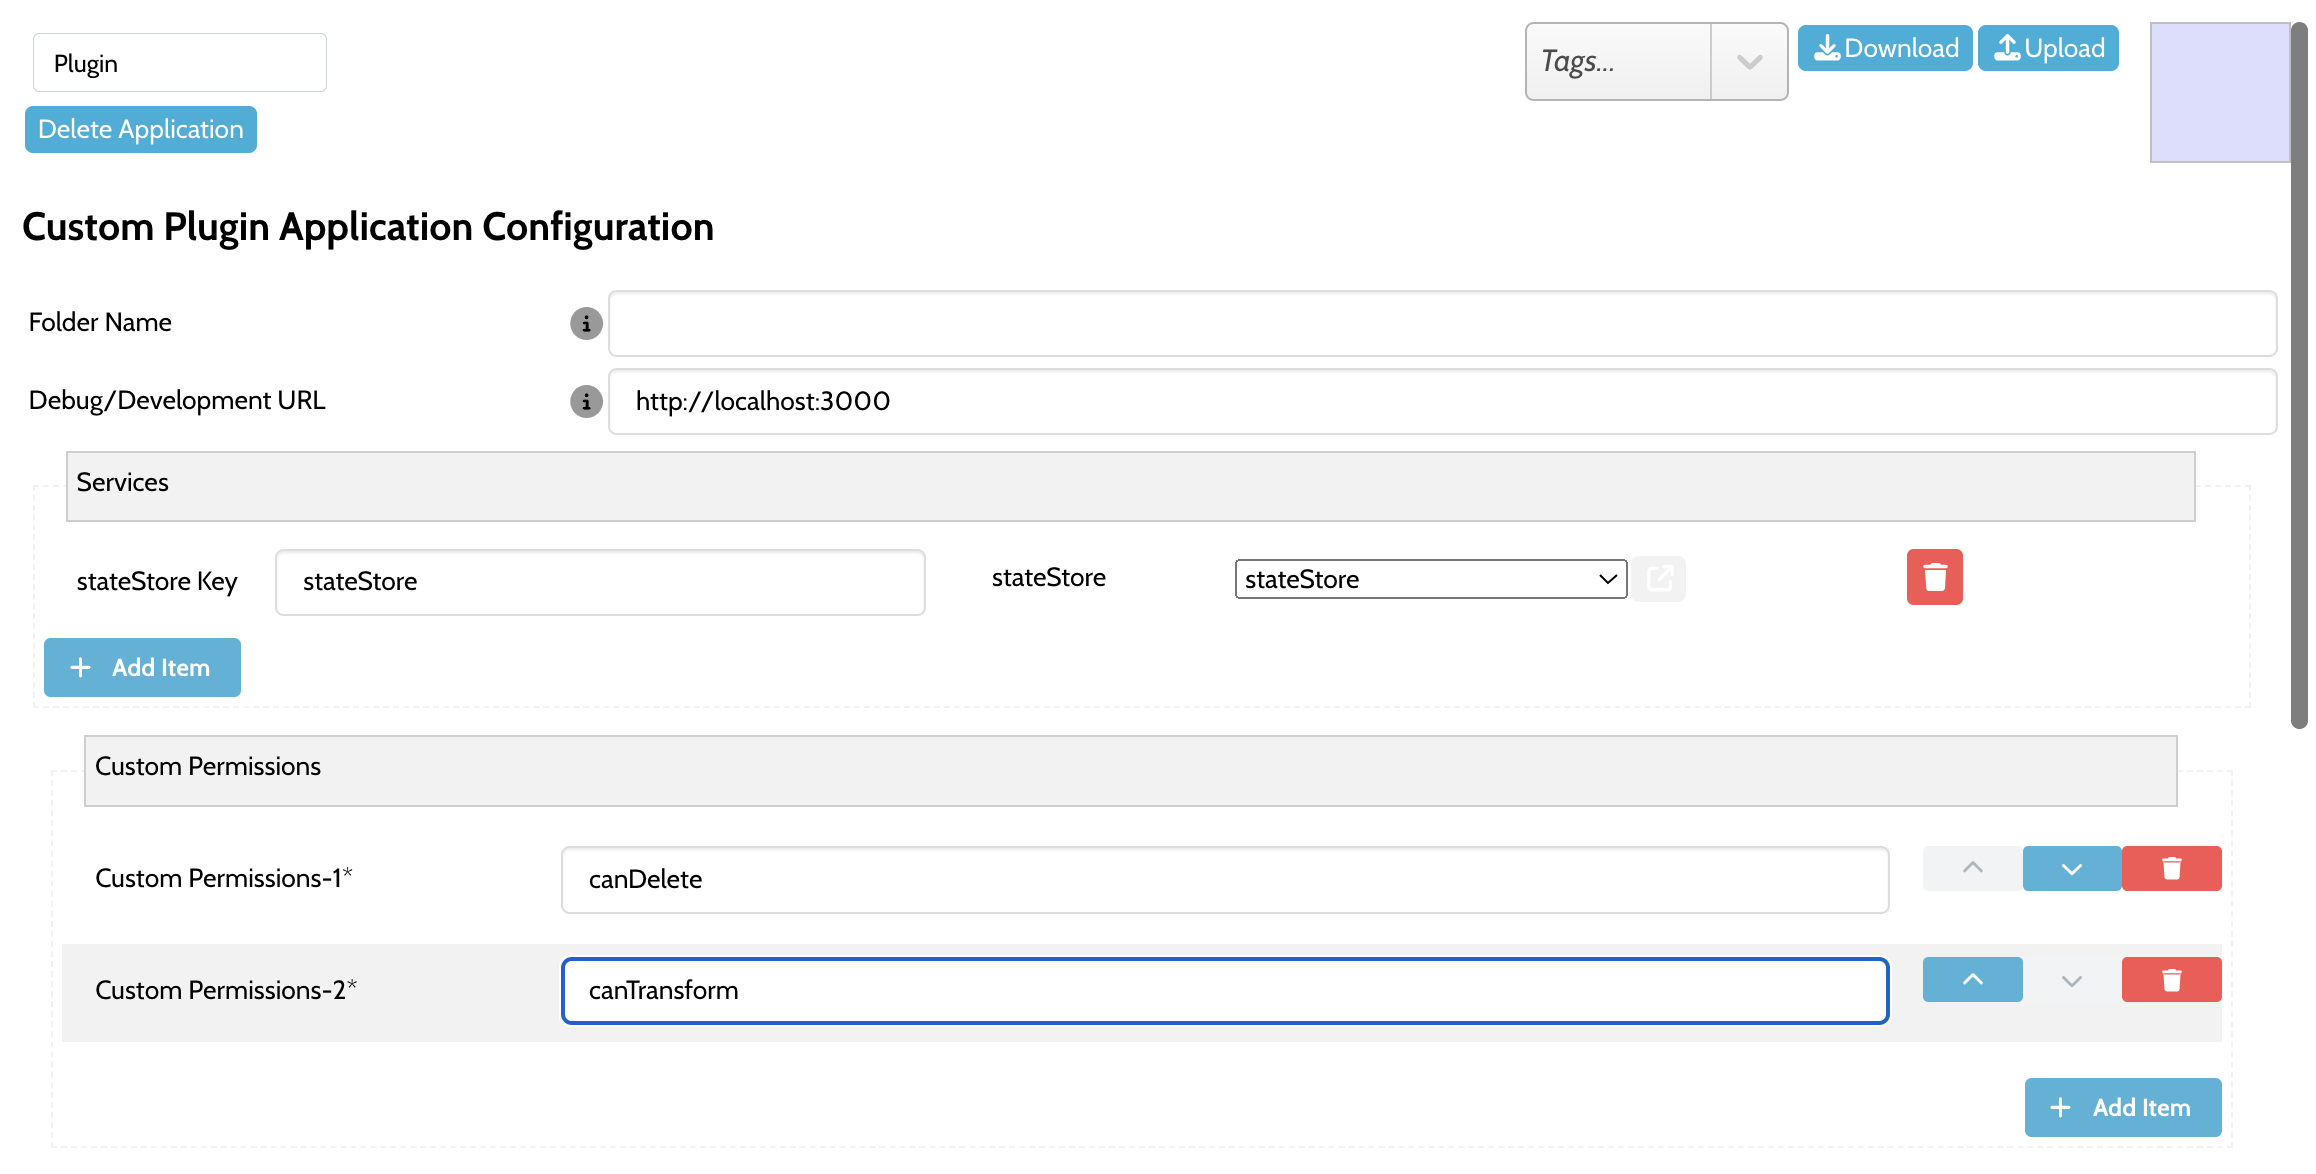
You are able to add services which will resolve the correct service name and will be provided in the config received by the plugin.
You can also add custom permissions which will be available in the permissions interface to assign to groups for this application.
Any additonal configuration you need to provide to your plugin can be added to the advanced config as json which will be passed to your plugin.
¶ Info Block Viewer Plugin
On the right of config editor is an Info Blocks section. Provide the Info Block Type and Sub Type that the view relates to and at the bottom select Use a UI Plugin Viewer in Job Cards. Then fill in the fields as required.
¶ Workflow Task Plugin
Inside a workflow when you add a Custom Task node you can specify the plugin you want to use. Fill in the plugin fields as required and fill out the configuration for the task.
¶ Developing the plugin
When developing and running on your local machine you should connect to selector in debug mode. This can be entered by pressing Ctrl + Alt + D or Cmd + Alt + D when at the login page or once logged in clicking on the Busby Selector text in the header bar 8 times.
When in debug mode the plugin will be loaded from the development url rather than being served from selector so that you can be running it on your local machine and make live changes.
To change the port the plugin runs on, add VITE_PORT=<portNumber> to the .env file. Please only use ports in the range 3000-3999.
¶ Writing the code
Now that the plugin is running and showing in selector you have everything you need to create your plugin. While running in development mode you can make changes to the React code and see them live updated in the browser as you make the changes.
App.tsx is the base of the React app which has some examples of how to connect to the bus and request and receive data.
Each different type of plugin has a differnt plugin client depending on the use of the plugin, make sure to use the right client. Only one client can be initialised in each plugin so make sure to call only one in your plugin. An error will be thrown if you try to load more than one.
¶ Task Plugins - PluginClient
The communication channel to the ESB is managed by PluginClient which is a singleton and can be accessed using PluginClient.get(). This is your main interface for communicating with the ESB and also Selector.
If using React for your plugin then you can also use some provided hooks to access the client:
useBusbyPlugin()Returns the plugin client.useBusbyPluginConnected()Returns a boolean of whether the plugin is connected to selector or not.
The plugin client allows you to perform actions on selector. You are able to upload/download files which are served by selector, tell selector that your plugin has an alert, change the selected application and others. These are availble as functions on the client instance.
For upload and download in a plugin you will need to use the following functions on the client. The main reason for this is due to CORS and browser security the upload/download need to be initiated in selector rather than your plugin.
fileDownload(fileName: string, location: string)allows you to request that the file stored in the location will be downloadedfileUpload(file: File, location: string)allows you to upload aFileobject to a location
Other useful functions:
onConnected(onConnectedCallback: () => void)add a callback to be called when the plugin is connected to selectorgetUser()gets the current user detailsgetPermissions()gets the permissions assigned to the logged in user for this plugin applicationsetAppAlert(alerting: boolean)tells selector that your app has a pending alert or clears the alertselectThisApp()tells selector to select your plugin as the active appstartAudioAlert(alert: SounderAlert)starts an alert which either uses the TTS engine or plays a specific audio filestopAudioAlert(alert: SounderAlert)stops an audio alertsendNotification(title: string, body: string, params: NotificationParams)allows you to send desktop notificationsshowSearchResults(visible: boolean)shows the search result popup if your plugin is using the search interface
¶ Info Block Plugins - InfoBlockPluginClient
For info block plugins you use a different client - InfoBlockPluginClient. In the same way as the PluginClient it is a singleton with a InfoBlockPluginClient.get().
If using React for your plugin then you can also use some provided hooks to access the client:
useBusbyInfoBlockPlugin<InfoBlockType>()Returns the plugin client. If using typescript it is a Generic and accepts a type to be passed in for the info block definition.useBusbyInfoBlockPluginConnected()Returns a boolean when the info block plugin has connected to selector.useBusbyInfoBlock<InfoBlockDataType = any>()Returns an object containing the job and the infoblock
This plugin has fewer functions available than task plugins as it is desigend to be just a viewer.
getJob()Returns the jobgetInfoBlock()Returns the infoblockonInfoBlock(callback)Register a callback for when the infoblock has been sent from selector to your plugin. This returns a dispose function to allow you to remove the listener if required. Note that if the infoblock has already been received it will trigger the function immediately.offInfoBlock(callback)Pass the same function as used foronInfoBlock(callback)to remove the callback.
¶ Workflow Task Plugins - WorkflowPluginClient
For workflow plugins you use a different client - WorkflowPluginClient. In the same way as the PluginClient it is a singleton with a WorkflowPluginClient.get().
If using React for your plugin then you can also use some provided hooks to access the client:
useBusbyWorkflowPlugin()Returns the plugin client.useBusbyWorkflowPluginConnected()Returns a boolean when the workflow task plugin has connected to selector.useBusbyWorkflowTaskJob()Returns the selected job in the workflow.
This plugin has different functions available than full task plugins as it needs to interact with a job and the workflow so there are specific functions available to cater for things needed for the progressing in the workflow and updating infoblocks.
getJob()Returns the jobonJob(callback)Register a callback for when the job has been sent from selector to your plugin. This returns a dispose function to allow you to remove the listener if required. Note that if the job has already been received it will trigger the function immediatly.offJob(callback)Pass the same funtion as used foronJob(callback)to remove the callback.
¶ Subscribers
To be able to talk to services on the bus you will need to create a subscriber. There are two methods for getting subscribers. The first is to use the useSubscriber hook, which takes the name of the service and optionally a class for the type of subscriber it is. The other is done by calling either .get(serviceName) or await .getConnected(serviceName) on the Subscriber class required.
There are some subscribers which don't require a service name but most do. There are specific subscribers for various services, and also a generic one which can be used for any service. Using the specific one is recommended if one exists for that specific service.
Some of the subscribers are listed below, all of these are importable from @busby/esb
GenericSubscriberused for any serviceStateStoreSubscriberused for talking to state store servicesBusbyDirectorySubscriberused for talking to the directoryAlarmSubscriberused for talking to alarm services
¶ Common information
There are several common elements which are accessible as hooks and global singletons which are accissible in all the types of plugins.
useBusbyUser()orInterfaceUser.get()- Give you the logged in user informationuseSelectorOperations()orSelectorOperations.get()- Gets a collection of common funtions which are useful for your plugin. Such as:raiseToast(),getFileLink(), andgetModalForm()along with others.
¶ Deploying your plugin
Once your plugin is production ready you will need to build the plugin as a production build and upload it to the busby machine.
There is a build command included in the package.json so you can run npm run build and then upload the contents of the build folder to the busby machine(s) running selector to the path /var/squaredpaper/plugins/ name the folder the same as what you have called it in the custom plugin configuration.
eg example from the image above
Once uploaded if you exit selector debug mode (using the same method as entering it) you should see the production plugin and be able to use it.