These instructions detail how to setup Okta with user synchronization. There are two other options with Okta which support JIT (Just-In-Time) configuration which require the OAuth Authenticator or SAML Authenticator. The JIT requires jus the Selector Application below. The authenticator requires both applications.
These instructions assume:
- The address to access the system is
oauth.demo.busby.localwhich can either be a single host or a loadbalancer- Selector is running at
https://oauth.demo.busby.local(Using default SSL port 443)- Config Editor is running at
https://oauth.demo.busby.local:8443(Using default SSL Port 8443)- Busby Admin is running at
https://oauth.demo.busby.local:9443(Using default SSL Port 9443)- Okta Domain is
https://devokta.squaredpaper.co.uk
¶ Okta User Interface App
This app will be used for the user interfaces Selector, Busby Admin, and Config Editor to perform the actual authentication portion of the request.
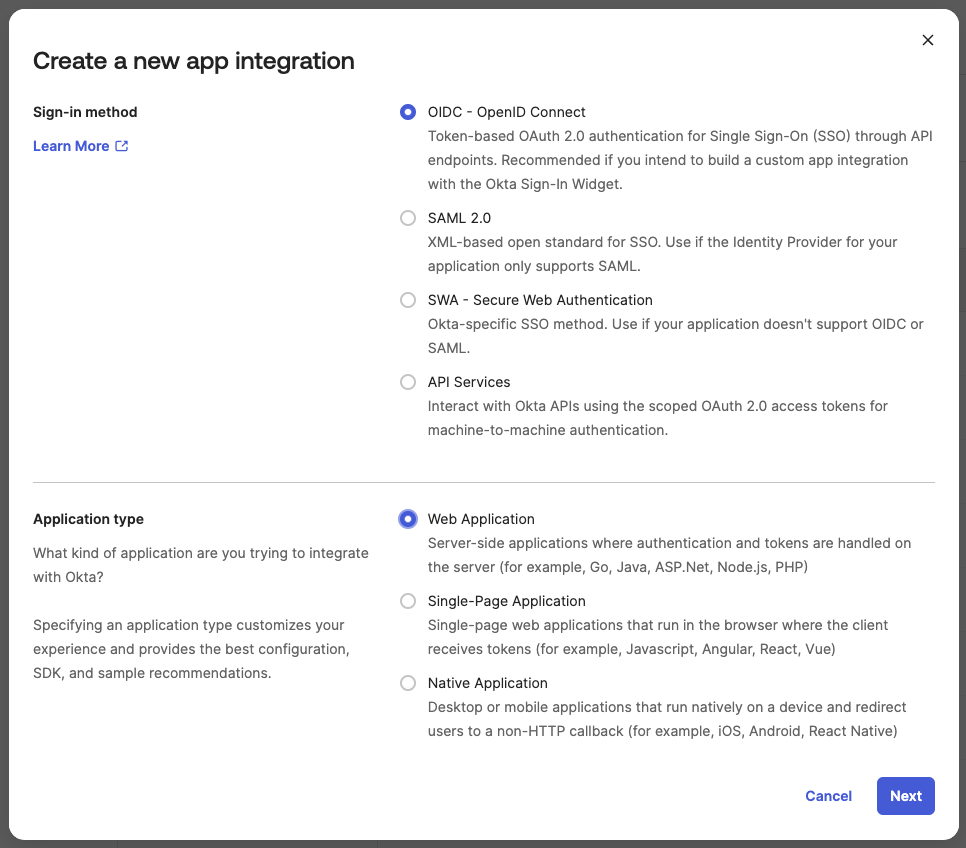
¶ 1. In the Okta Admin Console go to Applications and choose Create App Integration and select OIDC - OpenID Connect and Web Application
¶ 2. Give the application a name for example Busby User Interfaces and optionally add an image to display for the applciation
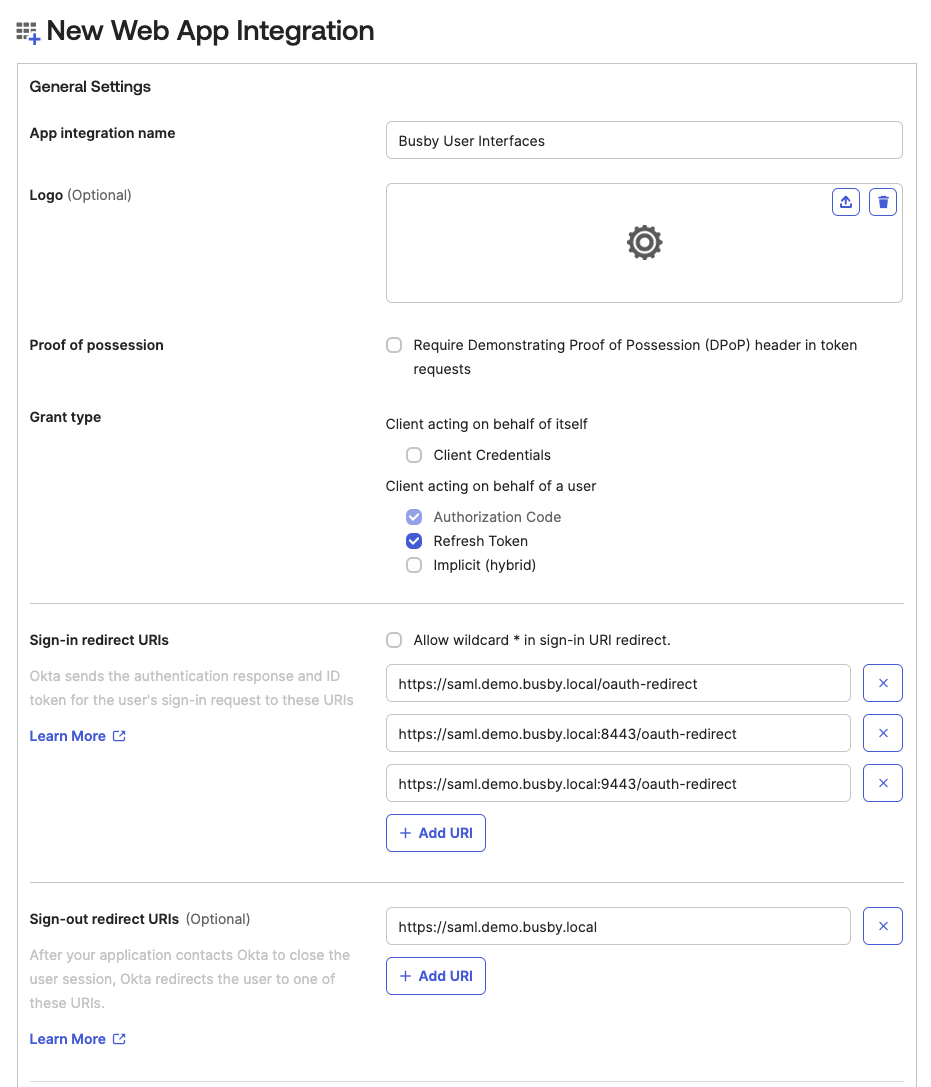
¶ 3. Configure the Sign-in Redurect Urls
You need to add all the redirects as valid redirect URIs.
These are all three urls with /oauth-redirect as in the screenshot above.
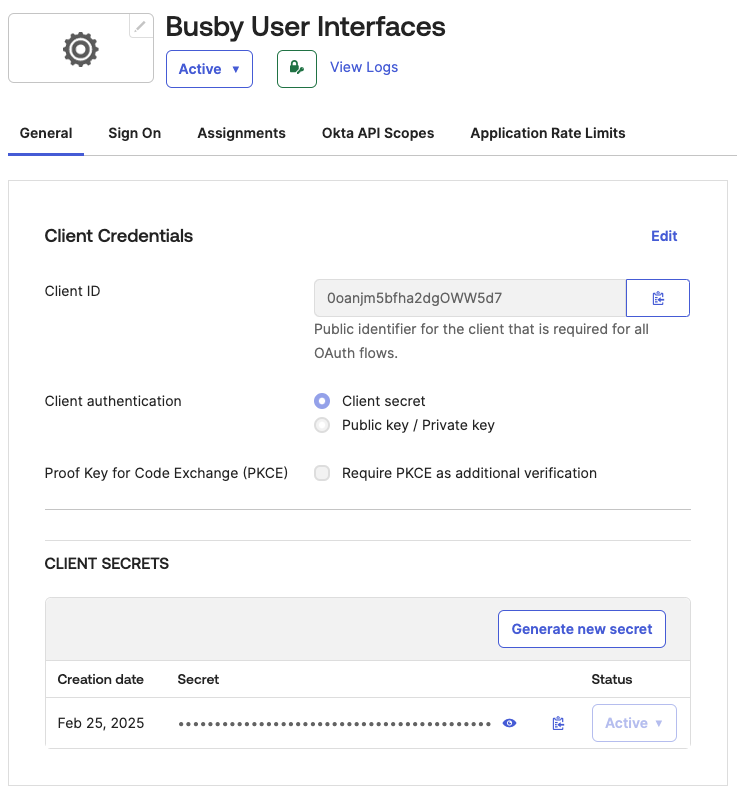
¶ 4. Copy the created ID and Secret
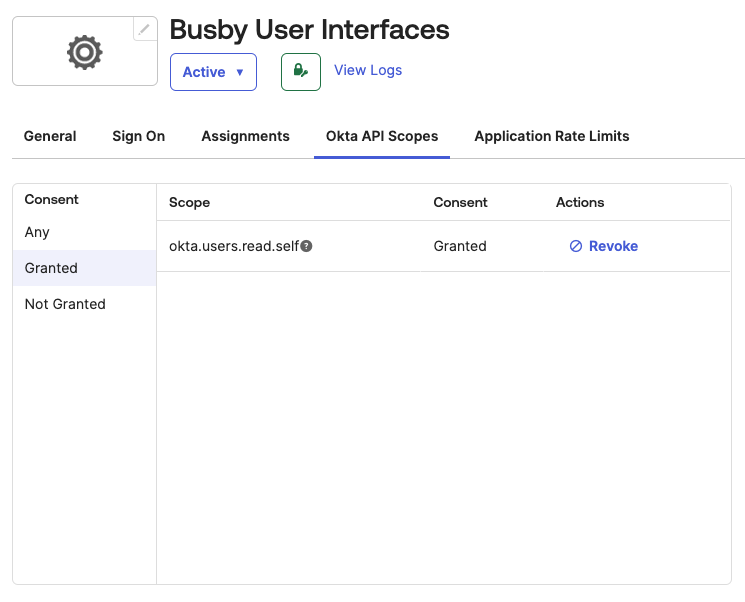
¶ 5. Grant the application okta.users.read.self access
This application requies access to read it's own user profile with the okta.users.read.self scope.
This application will work without this scope, but
Use User Info Endpointwill need to enabled in the authenticator.
¶ 6. Add Group Claims
If you wish to also send groups through the group claims will need to be set up
This example in the image sends all groups through. It is likely you want to adjust the filter depending on your usage

You can also adjust the Issuer here if required. If left on Dynamic the issuer will be one of your Okta client domains.
¶ Okta Authenticator App
This application is optional.
To enable user and/or group synchronization a second app is requried. If you don't want to enable sync, skip down to Busby Setup below.
If you want to enable the synchronization of users and groups to prepopulate the Busby user and group database you will need this application.
Without this, a user must first login for appear in the system. If groups are available in the claims then without this application a user from each group must login at least once before the groups appear in the system.
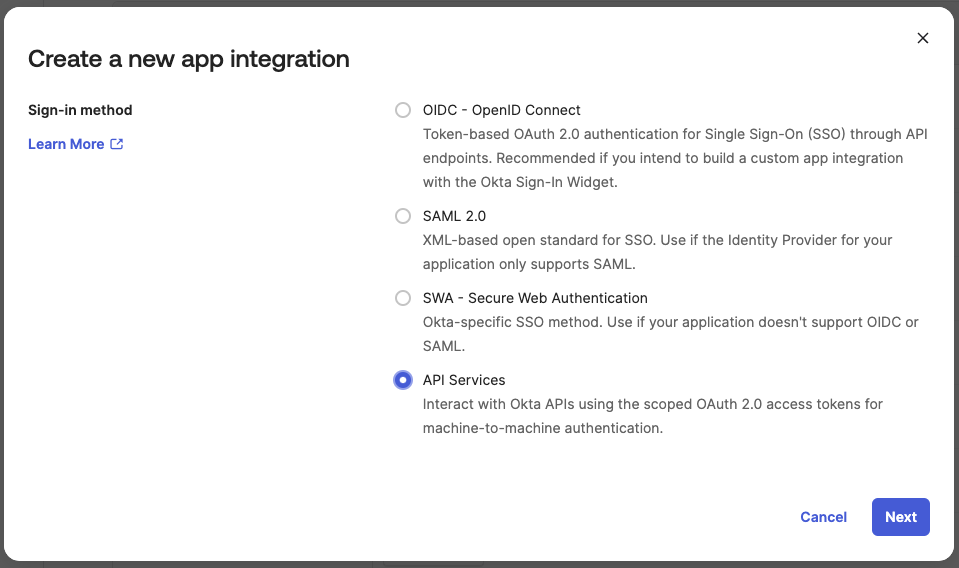
¶ 1. In the Okta Admin Console go to Applications and choose Create App Integration and select API Services
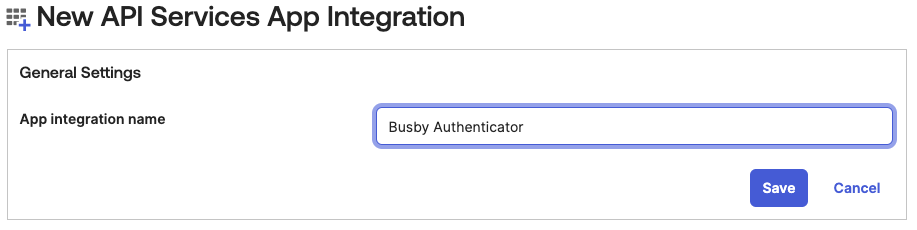
¶ 2. Give the application a name for example Busby Authenticator
¶ 3. Once created choose Edit for the Client Credentials and change to using Public key / Private key
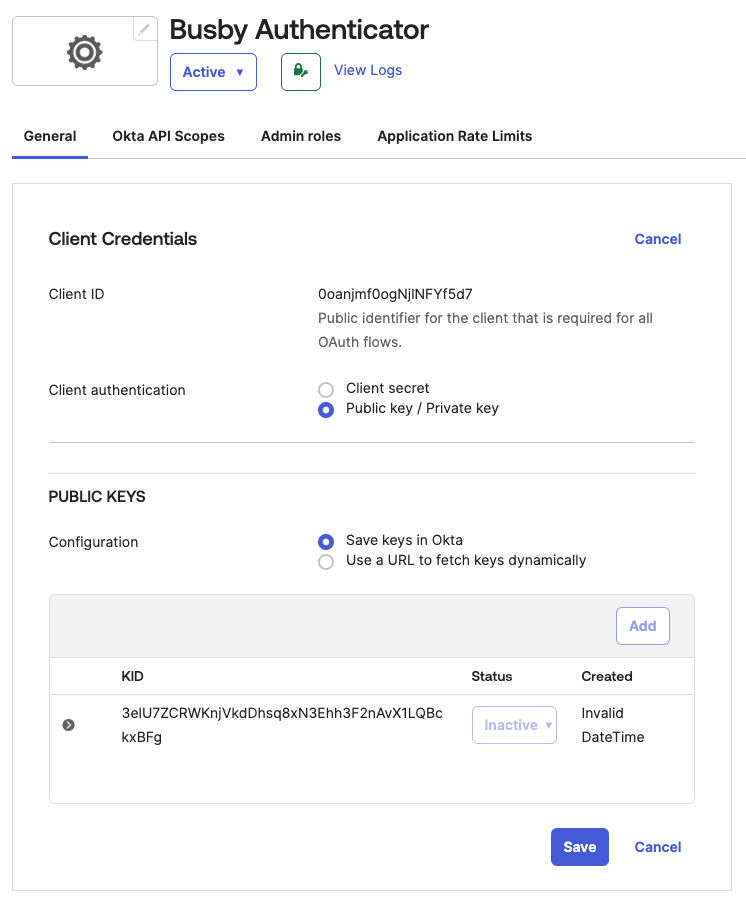
You can either create your own JWK and supply it to the authenticator or use the following default Busby JSON Web Key which is included in the authenticator
{
    "kty": "RSA",
    "e": "AQAB",
    "use": "sig",
    "kid": "3elU7ZCRWKnjVkdDhsq8xN3Ehh3F2nAvX1LQBckxBFg",
    "alg": "RS256",
    "n": "nISmSxojT45pzWYe7GlCN6w_QKtxPOqqSdzwJvoh2cEGNMlyMvUWrPzzBkdmZVhpsiur3xfoih8LGW94Hry4dvWK7VPNKVCAq47zZfBW2CM2FOmL-cpbp63GIJbMbRbm6Z0Bh0fauHObyAz8FSITDUSWu88XDDWyoeLi7GcdlrR7Fbc8wnhv6l3lSeQfvgu7g237BB2N8gnjs-chOtL46CKQqW08tYZJDalu-V6Rdosk3V6WCshsKQaUI1Qu4PUvXSrDu-0c-46NwFsByeHS5Z8vDBikHniwUoA5zkpPrvqGEDI7B7NEVPJthjyEAevkFVKe6-biSKbhdFgPbdQpDQ"
}
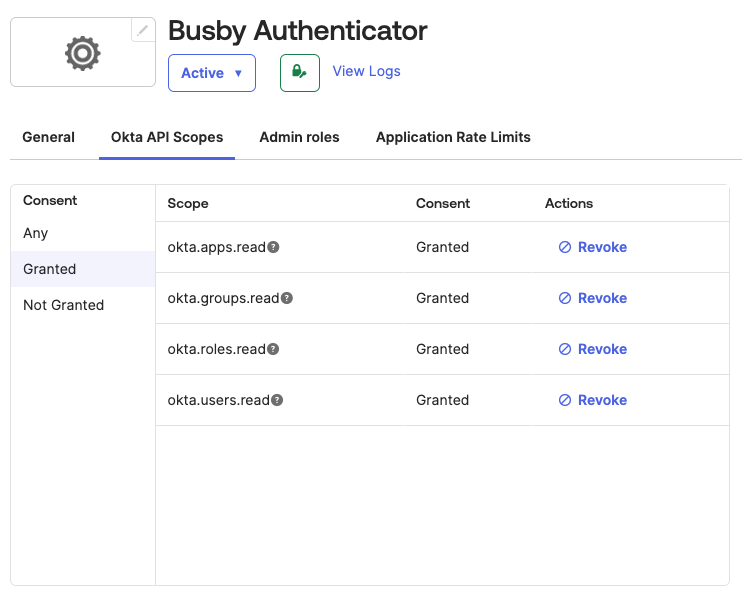
¶ 4. Give the required permissions
The authenticator app nees the following grants to be able to do the sync of users and groups. Depending on your use case it may not need all of these.
¶ Busby Setup
Once the applications have been created in Okta it then needs to be added to the configuration.
¶ 1. Authenticator Service
Here you have two options. Which depend if you setup the Okta Authenticator Application or not.
¶ A. Generic OAuth Authenticator
From the created application you will need:
- The Client ID (User Interface App Step 4)
- Issuer (User Interface App Step 6 or the Okta domain)
If you did not set up the Autheticator application you can use the Generic OAuth Authenticator Authenticator.
¶ B. Specific Okta Authenticator
From the created applications you will need:
- The UI Client ID (User Interface App Step 4)
- The Authenticator Client ID (Authenticator App Step 3)
- Authenticator Credentials (Authenticator App Step 3)
- Okta Domain
If you did set up the Authenticator application you can use the Okta Authenticator
¶ 2. UI Configuration
From the created application you will need:
- The Client ID (User Interface App Step 4)
- The Client Secret (User Interface App Step 4)
- Issuer (User Interface App Step 6 or the Okta domain)
Next you need to enable OAuth for Selector and optionally Busby Admin/Config Editor OAuth User Interface Setup. You also need to add an Authenticator.